
Woohoo, meer stipjes! Toen ik dit patroon bedacht wist ik meteen dat ik een blauw gestippeld exemplaar wilde maken. Dit patroon is geïnspireerd door de swing dresses uit de jaren ’40. Al sinds de Sew for Victory sewalong van Rochelle wilde ik een dergelijke jurk maken. Maar toen was ik nog niet zo enthousiast aan het patroontekenen begonnen, en ik kon ook niet hét patroon vinden. Maar uiteindelijk kwam het dus goed 🙂
Woohoo, more dots! While making this pattern I immediately knew that I wanted to make it up in a blue, tiny dotted fabric. The pattern is inspired by 40’s swing dresses. Ever since the Sew for Victory sewalong, hosted by Rochelle, I wanted to make a dress like this. At the time I wasn’t that into pattern drafting like I am now, and I also couldn’t find exactly the right pattern. But it all came together right now 🙂

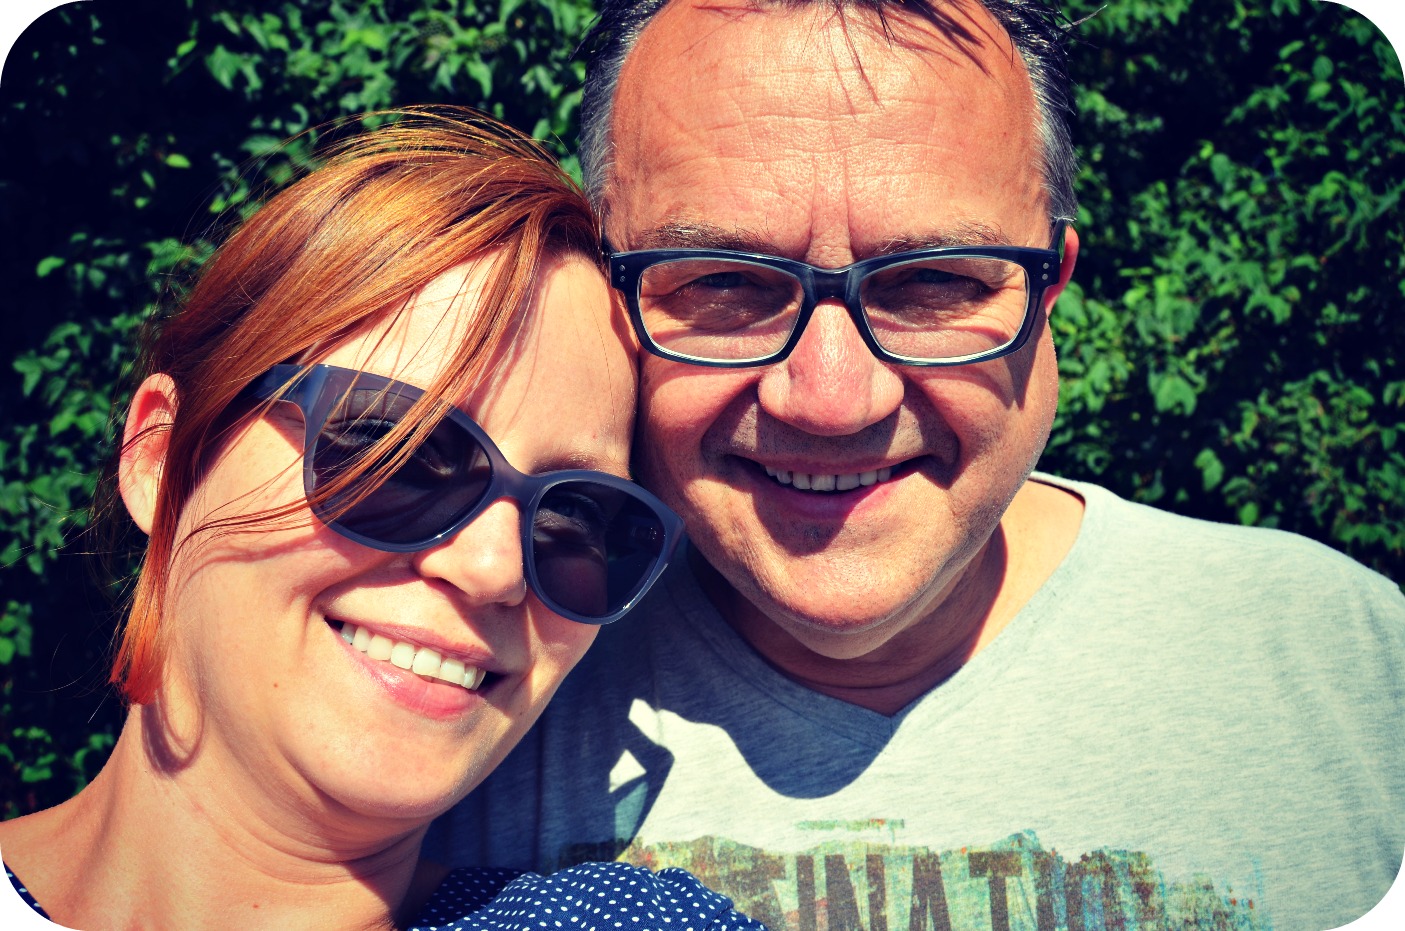
Vandaag ging ik lunchen met mijn vader in de stad en daarna hebben we een kleine fotoshoot gedaan. Deze be-graffti-de muur staat bij mij in de buurt, en is afgelopen juni gemaakt tijdens graffiti-festival Skrift.
Today my dad and I had lunch in town and afterwards we had a little photoshoot. This graffiti wall is near my house and is the result of a local graffiti festival held in june.

Oké, terug naar de jurk. Hij ziet er heel anders uit dan het basispatroon met figuurnaden, maar het aanpassen is eigenlijk heel simpel. ik leerde hoe je figuurnaden omzet in rimpels in de Craftsy class ‘creative darts and seam lines’. Het enige wat ik moest doen om dit patroon te maken is de tailleband toevoegen, de figuurnaad aan de zijkant verplaatsen naar de schouder en vervolgens de figuurnaden omzetten in rimpels. Als je een tutorial wilt, dan maak ik die met plezier! (edit: die is inmiddels hier te vinden)

Ok, back to the dress. Despite it looking quite different than my basic pattern, adapting it is quite simple. I learned how to transfer darts into gathers in Craftsy’s class ‘creative darts and seam lines’. The only things I had to do to make this pattern was making the waistband, rotating the bust darts into shoulder darts and then change the darts into gathers. I can make a tutorial for this one if you wish! (Edit: you can find it here)

De rok is wederom een halve cirkel. Ik twijfelde eerst tussen een paar verschillende rokvormen, en dus vroeg ik mijn Instagram-vrienden om raad. De cirkelrok was de winnaar. Ik had al een patroon voor een volle cirkelrok gemaakt maar die paste niet op mijn stof. Hmm. Dan maar weer een halve, en uiteindelijk past dat denk ik ook beter bij dit model dan een volle.
The skirt is another half-cirkle. I debated some other skirt shapes and asked my Instagram friends for advice. The cirkle skirt was most popular. I made a pattern for a full cirkle but it didn’t fit on my fabric. Hmm. So another half cirkle it was, and I think it matches this shape very well.
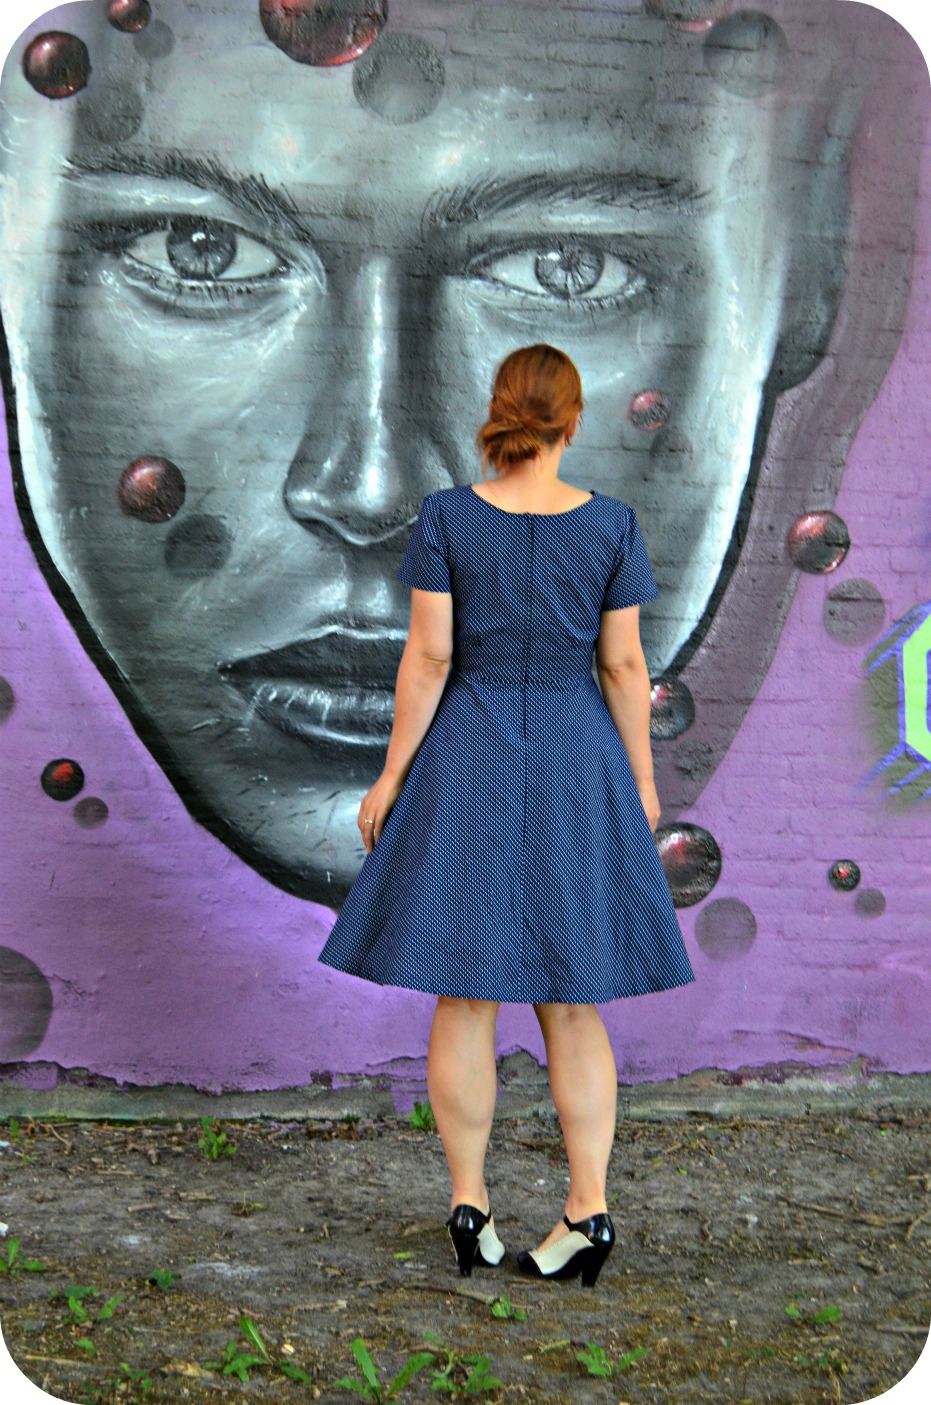
De rits zit dit keer middenachter, en het is een overlappende. De hals aan de achterkant is ook wat verlaagd, dat vind ik mooier dan een hoge. En het toffe van je eigen patronen maken, is dat je dat soort dingen ook zelf kan bepalen 🙂
I put the zipper at the centre back of the dress and made it a lapped one. I also lowered the back neckline, as I like it better then a high one. That’s the cool thing about making your own patterns, you just decide all those things yourself 🙂
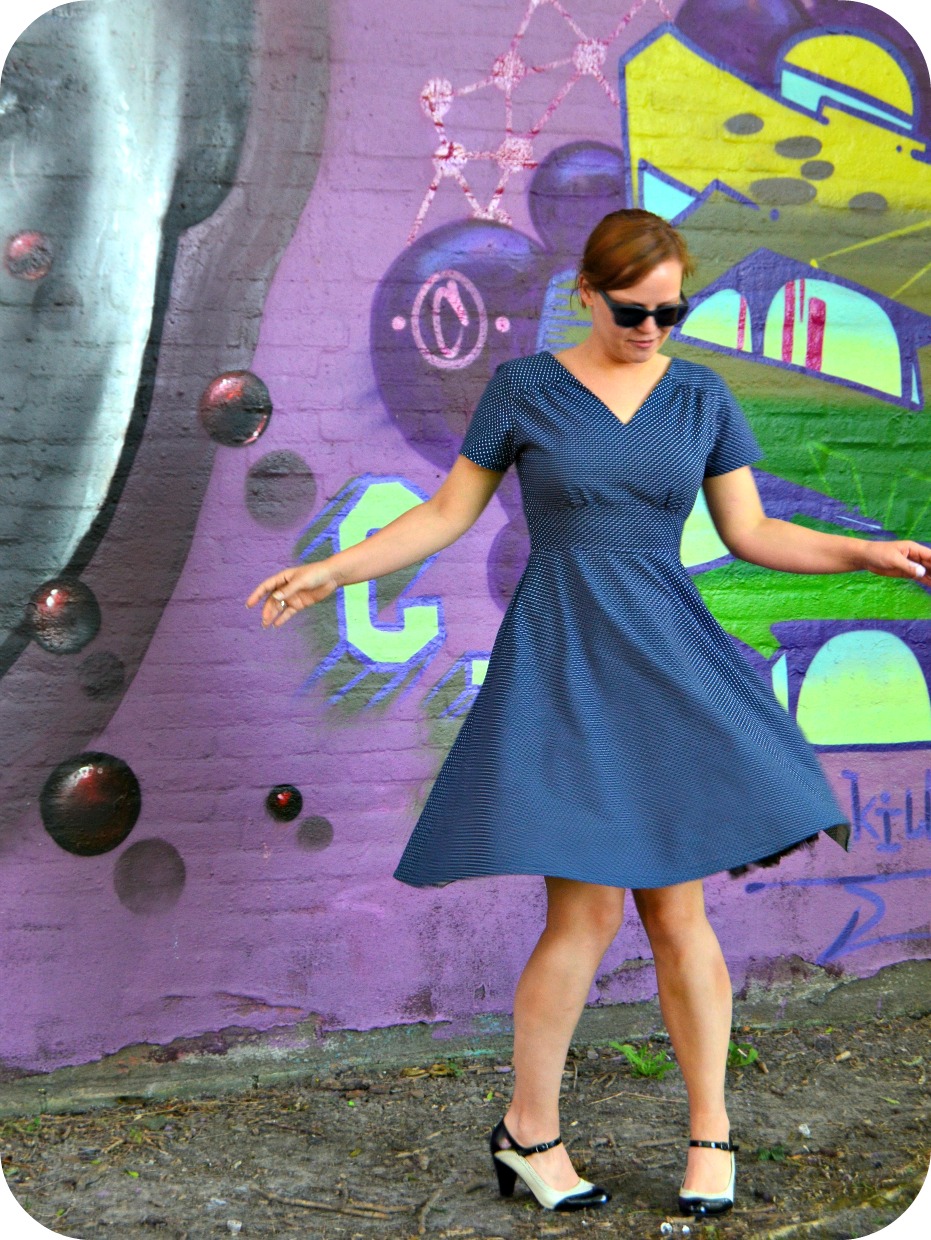
En in een swing dress hoor je te swingen. Al is het nog best moeilijk om dan een beetje charmant op de foto te komen!
A swing dress is made for swinging. Although it is kind of hard to do that and look good on the photo!

Details
Over naar de details / Onto the details
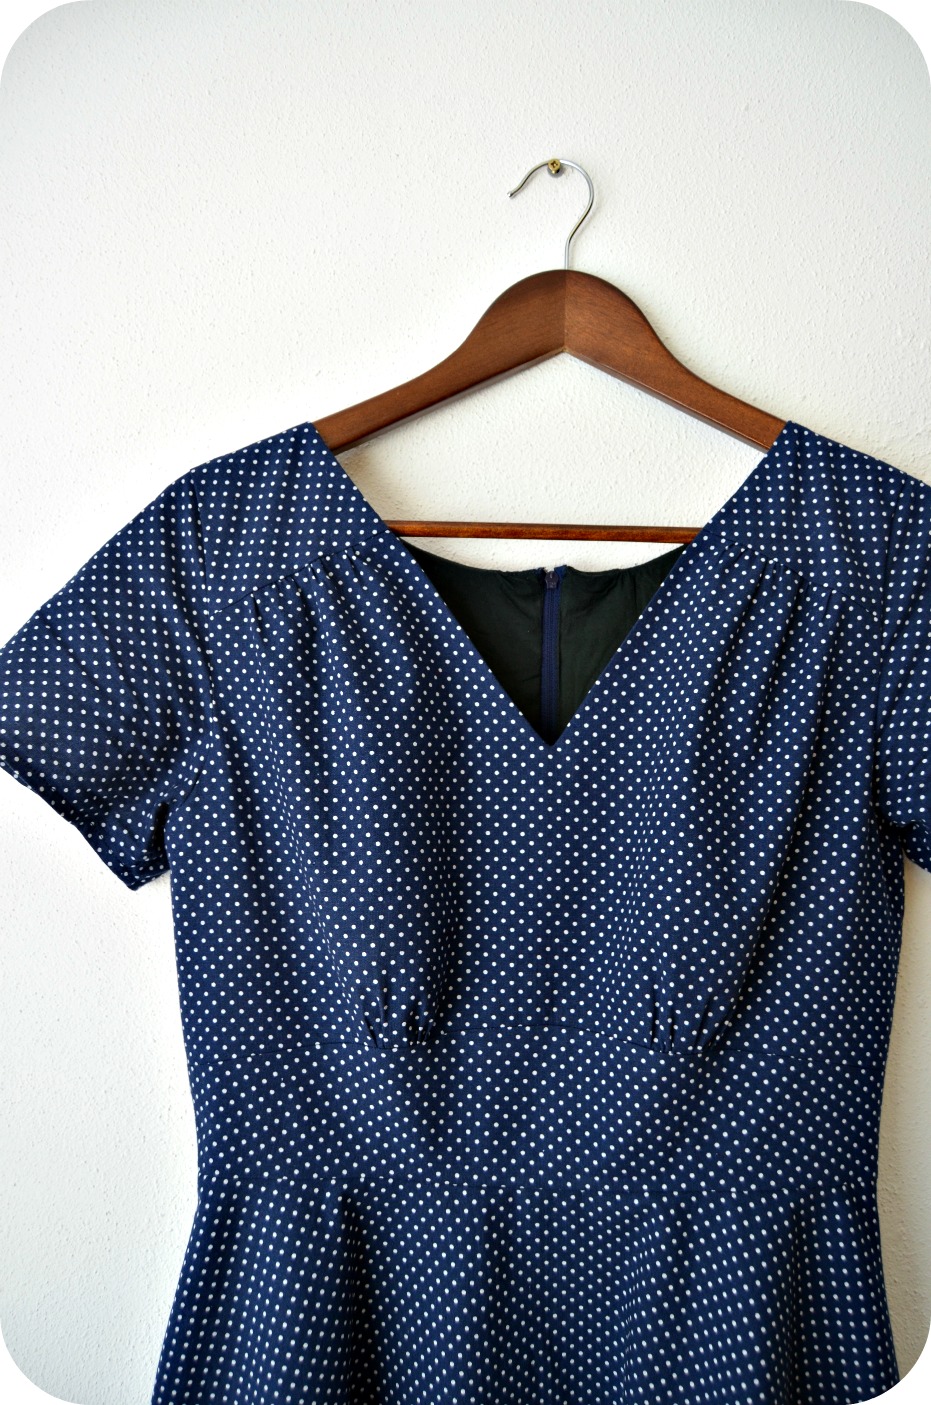
Hier zie je ietsje beter hoe het patroon in elkaar zit. En de stipjes, mijn camera vindt die lang niet zo leuk als dat ik ze vind.
Here you can see the shape of the pattern more clearly. And the dots, my camera doesn’t like them as much as I do.
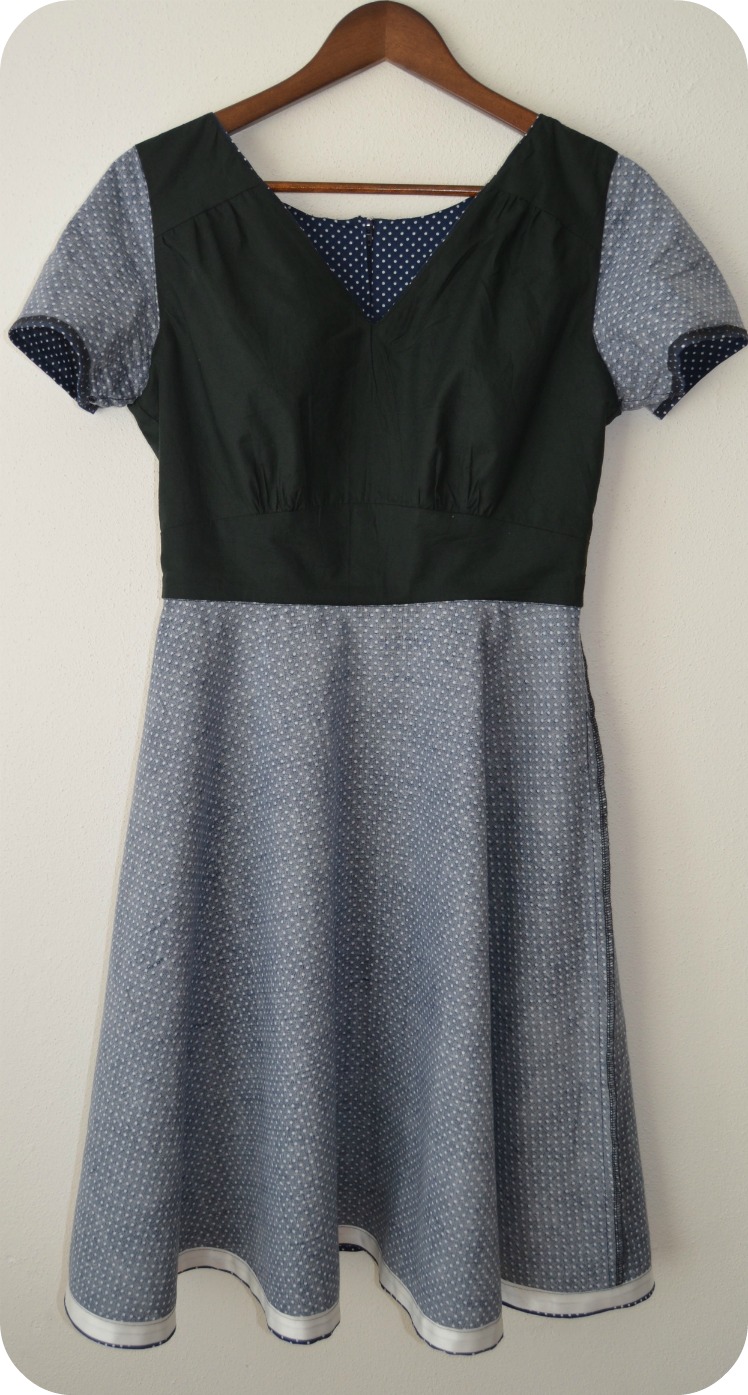
Het bovenlijfje is gevoerd met donkergroene batist, dat ook meteen als proefmodel gold. De tailleband van de voering heb ik voorzien van vlieseline zodat ‘ie niet uitrekt. De voering is met de hand vastgenaaid bij de taille en de mouwen. Voor de zoom gebruikte ik een wit satijnen biaisbandje, dat ik met de machine vaststikte. Na een aantal handgezoomde jurken was mijn geduld daarvoor even op haha.
The bodice is lined in dark green cotton batiste, which was also my muslin. I interfaced the lining waistband so it would’t stretch. The lining is handstitched to the dress at the waist en the sleeves. For the hem I used a white satin bias tape. After hand hemming a couple of dresses my patience for that has run out a bit haha.
Met het risico om in herhaling te vallen: ik ben superblij met deze jurk. Ik vind de vorm erg mooi en hij zit erg lekker. En wat is dat gaaf, om iets dat al zo lang in je hoofd zit eindelijk te realiseren!
So at the risk of sounding like a broken record: I am more than happy with this dress. I love the shape of it, and it is quite comfortable. And how good it feels to be able to turn an idea that’s been in your head for so long into reality!
Bedankt heit, voor de mooie foto’s en de gezellige middag!
Thank you dad, for the pretty pictures and the fun afternoon!

Such an adorable dress, and THOSE SHOES. Love them both.
Thank you! I love those shoes too, should really wear them more often 🙂
Heel mooi !!!!! :o)!!!!!
Dank je 🙂
Knappe jurk, helemaal mijn ding!
Dank je wel! (Die van mij ook hihi)
Heel erg mooi! Je hebt de smaak echt te pakken met het patroontekenen
Dank je Antje! Ja, ik vind het erg leuk om te doen en dit model had ik al zo lang in mijn hoofd, zo fijn om het dan ook echt te kunnen maken.
Such a pretty dress! And so fun to connect the bloglovin and instagram dots! I’ve been following you on both but didn’t realise it! And loving your instagram teasers of this dress.
Connecting double dots 😉 don’t you just love instagram? So cool to get little sneak peeks into peoples lifes!
This dress is beautiful! I love the shape of the bodice and the skirt – another dress for the inspiration list!!
Thanks Lynne! It will be in a dotted fabric right? 😉
Waw, dat moet zowat de perfecte jurk zijn! Heel erg mooi en hij zit je als gegoten. Als je er nog eentje maakt, wil ik wel graag een tutorial van hoe je dat aangepakt hebt. Nu klinkt het me als Chinees in de oren.
U vraagt, wij draaien: https://ingemaakt.com/2014/07/19/dotted-bodice-tutorial/ 😉 hopelijk kun je hiermee uit de voeten, zo niet dan hoor ik het graag!
Héél erg bedankt! Eerst nog wat kilootjes kwijt spelen, maar ik heb ‘m bewaard! X
Wow, die is mooi!! Staat je geweldig!
Dank je wel Mieke 😊
You did such a lovely job! I love that you are making your own patterns now. 🙂
Thanks Nikki! I find it so much fun to do so!
Fantastic! Well done for drafting a lovely pattern. I would love to see a tutorial on how you move darts to the shoulders! I like tucks and gathers there.
Thank you! Here it is: https://ingemaakt.com/2014/07/19/dotted-bodice-tutorial/
een héél mooi lijfje met die rimpeltjes, super!
Dank je! ben er zelf ook wel content mee 😊
Wauwie! Die is echt super mooi!
Dank je!!
prachtige jurk (weer) en wat leuk dat je vader er ook zo in op ging! B-)
Dank je Nienke! Mijn vader houdt wel van foto’s maken 🙂 en ik heb gewoon een hele leuke vader! (en moeder trouwens ook, ik heb het echt getroffen met mijn ouders)
I am so impressed at your drafting skills. That dress is so flattering!
Thanks Kat! I’m really happy with how it turned out 🙂
Ooh, I love this dress! The shoes are fabulous, too!
Thanks Sarah! They’re one of my favourite pairs, they go with just about everything
So cute!!!
thank you!
Pingback: Dotted bodice tutorial | IngeMaakt
Fabulous! and the polka dots make it perfect!! I love the circle skirt too.
Thanks 😊 I am glad I found out just how much I love the cirkle ones too!
I think this is my favorite dress you’ve made so far. It must be a great feeling turning what you see in your imagination into a real thing!
Mine too think 🙂 it really is!