
Het heeft een maand of 6 geduurd, maar hier is ze dan: Winnie!
It took about 6 months, but here she finally is: Winnie!
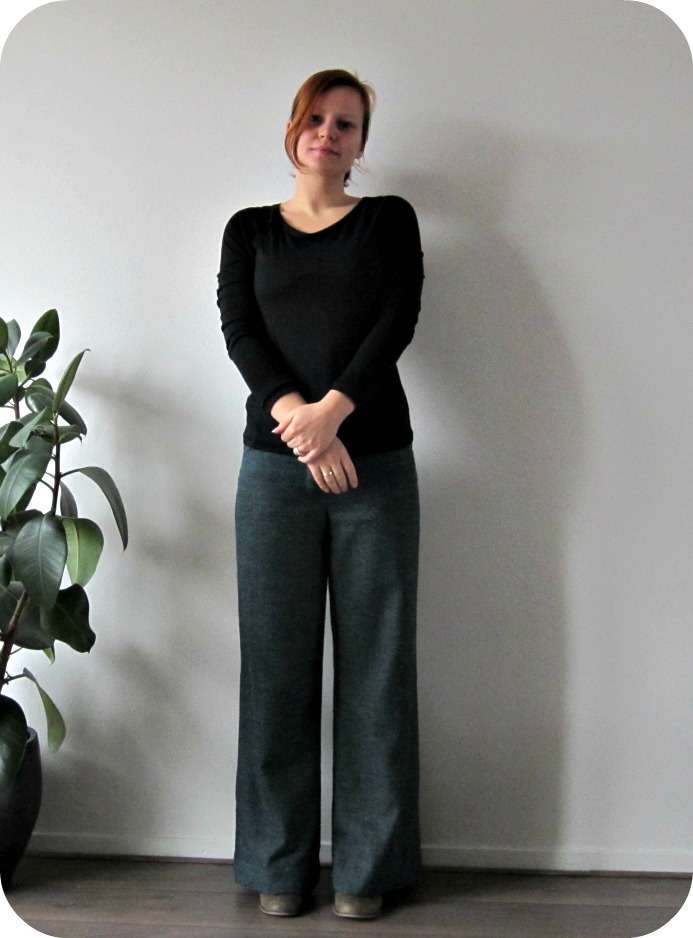
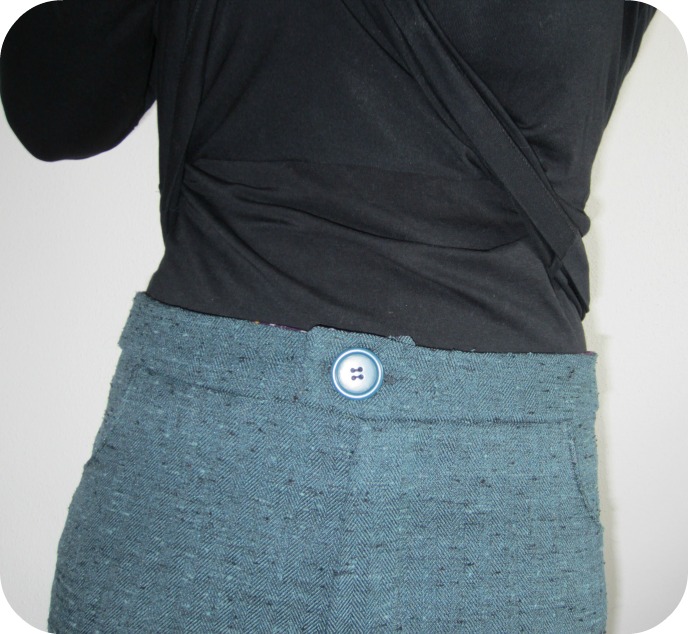
Het lijkt op de foto niet zo, maar ik ben zeer in mijn nopjes met deze broek! Mijn eerste lange broek. Een zelfgemaakte dan he, ik heb er natuurlijk wel meer 😉 De pasvorm is prima, zonder aanpassingen. Gelukkig maar, want er zijn een hoop dingen die ik kan, maar een broekpatroon zodanig aanpassen dat het past, is daar niet een van. Het enige dat ik nog ga aanpassen aan deze broek, is dat ik de knoop een stukje ga verplaatsen, want het is wat losjes in de taille.
Although it doesn’t look like it on the photo, I’m happy with these trousers! My first pair. My first self stitched pair that is of course 😉 The fit is just fine, straight from the pattern. Luckily, because while there are a lot of things I can do, adjusting trouser patterns for fit is not one of them. The only thing I will change is the button, I need to move it a bit since the waistband is a bit loose.
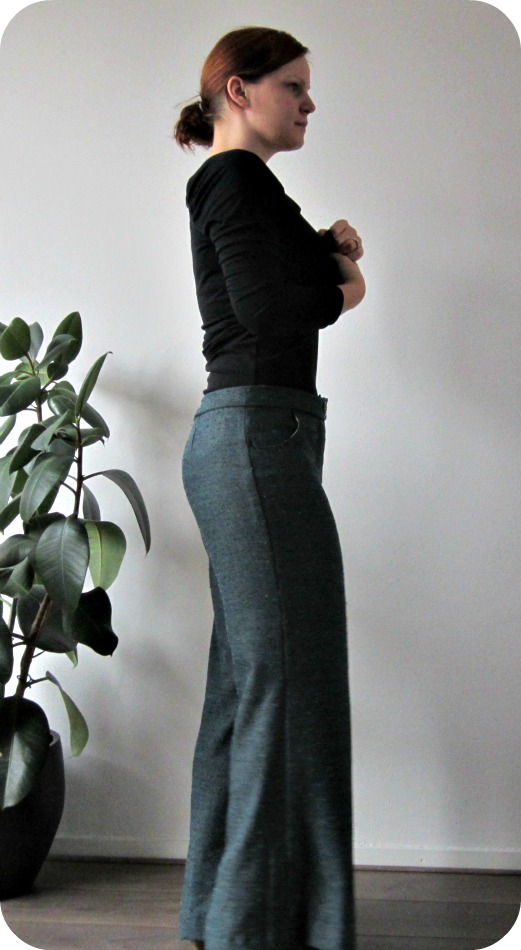

De stof is een couponnetje van de Jan Sikkes. Ik heb geen idee wat voor materiaal het is, maar het is vast iets synthetisch want het strijkijzer liet al heel snel z’n sporen achter. Je kan het een beetje zien op bovenstaande foto, bij de figuurnaadjes.
The fabric is a remnant from our local fabric store. I have no idea of the content, but it’s probably something synthetic because my iron left it’s marks. You can see it a bit on this photo, at the darts.

Omdat de stof een beetje kriebelig is en weinig ‘body’ heeft, heb ik hem gevoerd met ongebleekte katoen. Lekker warm ook! Volgende keer doe ik dat bij de zakken anders, want je kan het witte soms net zien zitten. Wat je niet ziet (als het goed is) is de zoom, want dat is een onzichtbare, met de hand. Wat duurt dat lang zeg!
Because the fabric is a bit scratchy and doesn’t have much body, I have interlined it with muslin. Nice and warm! Next time I’ll do it differently at the pockets, as the white shows a little sometimes. What doesn’t show is the hem, it’s a hand stitched invisible one. It takes forever to do one of these!
Als je een mooi en duidelijk patroon zoekt om je eens te wagen aan een broek, dan raad ik deze van harte aan!
If you’re looking for a pattern to dip your toes into trouser-making, I highly recommend this pattern!

Well done, they look lovely and the fit is great!
Thank you! The credit for the fit goes entirely to Maria Denmark 🙂 (and perhaps a bit to my parents? haha)
Hallo Inge, leuke broek. leuke kleur. de volgende met zijzakken?
als je een tip wilt om een broek simpel passend te maken in de taille, kun je de band achter in het midden op het laatst dicht stikken terwijl hij al op de broek zit aan twee kanten dan kun je altijd varieren in strakker of wijder. zoals bij een herenbroek van een kostuum. ik hoop dat ik het duidelijk heb uitgelegd.
Ziet er super uit! Ik ben zelf enorme fan van wijde pantalons in wol(lige) stofjes 🙂
Dank je wel! Dan kun je deze best proberen te maken, want de instructies zijn erg duidelijk en het is ook niet een heel moeilijk patroon. Al denk ik dat het bij jullie wel ietsjes te warm is voor zulke broeken 😉
haha idd. Beetje jammer want dit soort broeken mis ik wel,maar anderzijds kan ik ook steeds slechter tegen de kou (je bloed schijnt zich erop aan te passen)!
Hij is mooi geworden! Maar ik had hem natuurlijk al gezien! Super!
Dank je 🙂 ben jij nog verder gekomen met je overgooier?
Nou, wel een beetje maar nog niet zover als ik al had willen zijn. Maar ik hoop hem deze week af te krijgen! Want ik wil de blouse ook nog maken, voordat ik op vakantie ga.
These are great! I have just recently heard of the Winnie pattern but had yet to see them sewn up. I think these are flattering on you. And how nice you lined them, as well. Was the lining difficult to do?
thank you! I just cut out all the pattern pieces and stitched them to the fabric by machine with a basting stitch. I don’t know if that was the ‘official’ way to do it but it worked out fine and didn’t take too long 🙂
Ah, ok. Did you baste on all the previous seam lines? I think I have to look up “how to line” as the only thing I’ve ever lined, to date, has been a tote-bag and a very simple straight skirt, where I just attached the lining to the waistband.
I basted the fabric and lining of all the pattern pieces together, and then sewed the trousers. So the basting is in the seam allowance. I think this is called interlining? It’s not that hard, after the basting you just treat the fabric and lining as one piece.
Wow, great pants! I can’t believe this is how the pattern fits without adjustment…. lucky you! I wish that would happen to me 😛
Thank you, and I am 🙂
They look FANTASTIC!
thanks!
Fabulous make. They look great on you.
thanks 🙂
Schoon broek! Niet simpel, maar het ziet er mooi uit!
Dank je wel!
Pingback: Edith muslin & give-away | IngeMaakt