Het is alweer zo ver, een jaar bijna om en een nieuw jaar voor de deur! Tijd dus voor een terugblik, met behulp van Gillians geniale top-5 methode 🙂 Alleen dit jaar maak ik het mijzelf, geheel in lijn met mijn ‘goals’, gemakkelijk en beperk ik het tot de top-5 hits, misses en een terugblik op de goals die ik had voor dit jaar.
It’s that time of the year again. The year is almost over and a new one is just around the corner. So it’s time for a recap, with the help of Gillians brilliant top-5 method 🙂 This year, in line with my goals, I’m cutting myself some slack and stick to top-5 hits, misses and a recap of the goals that I’ve set for this year.

Allereerst de hits
First, the hits
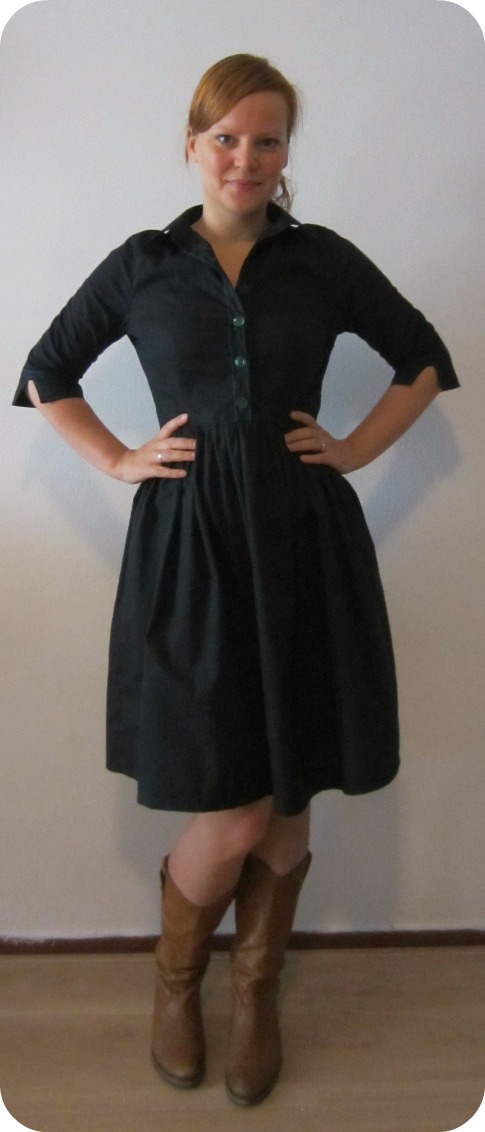
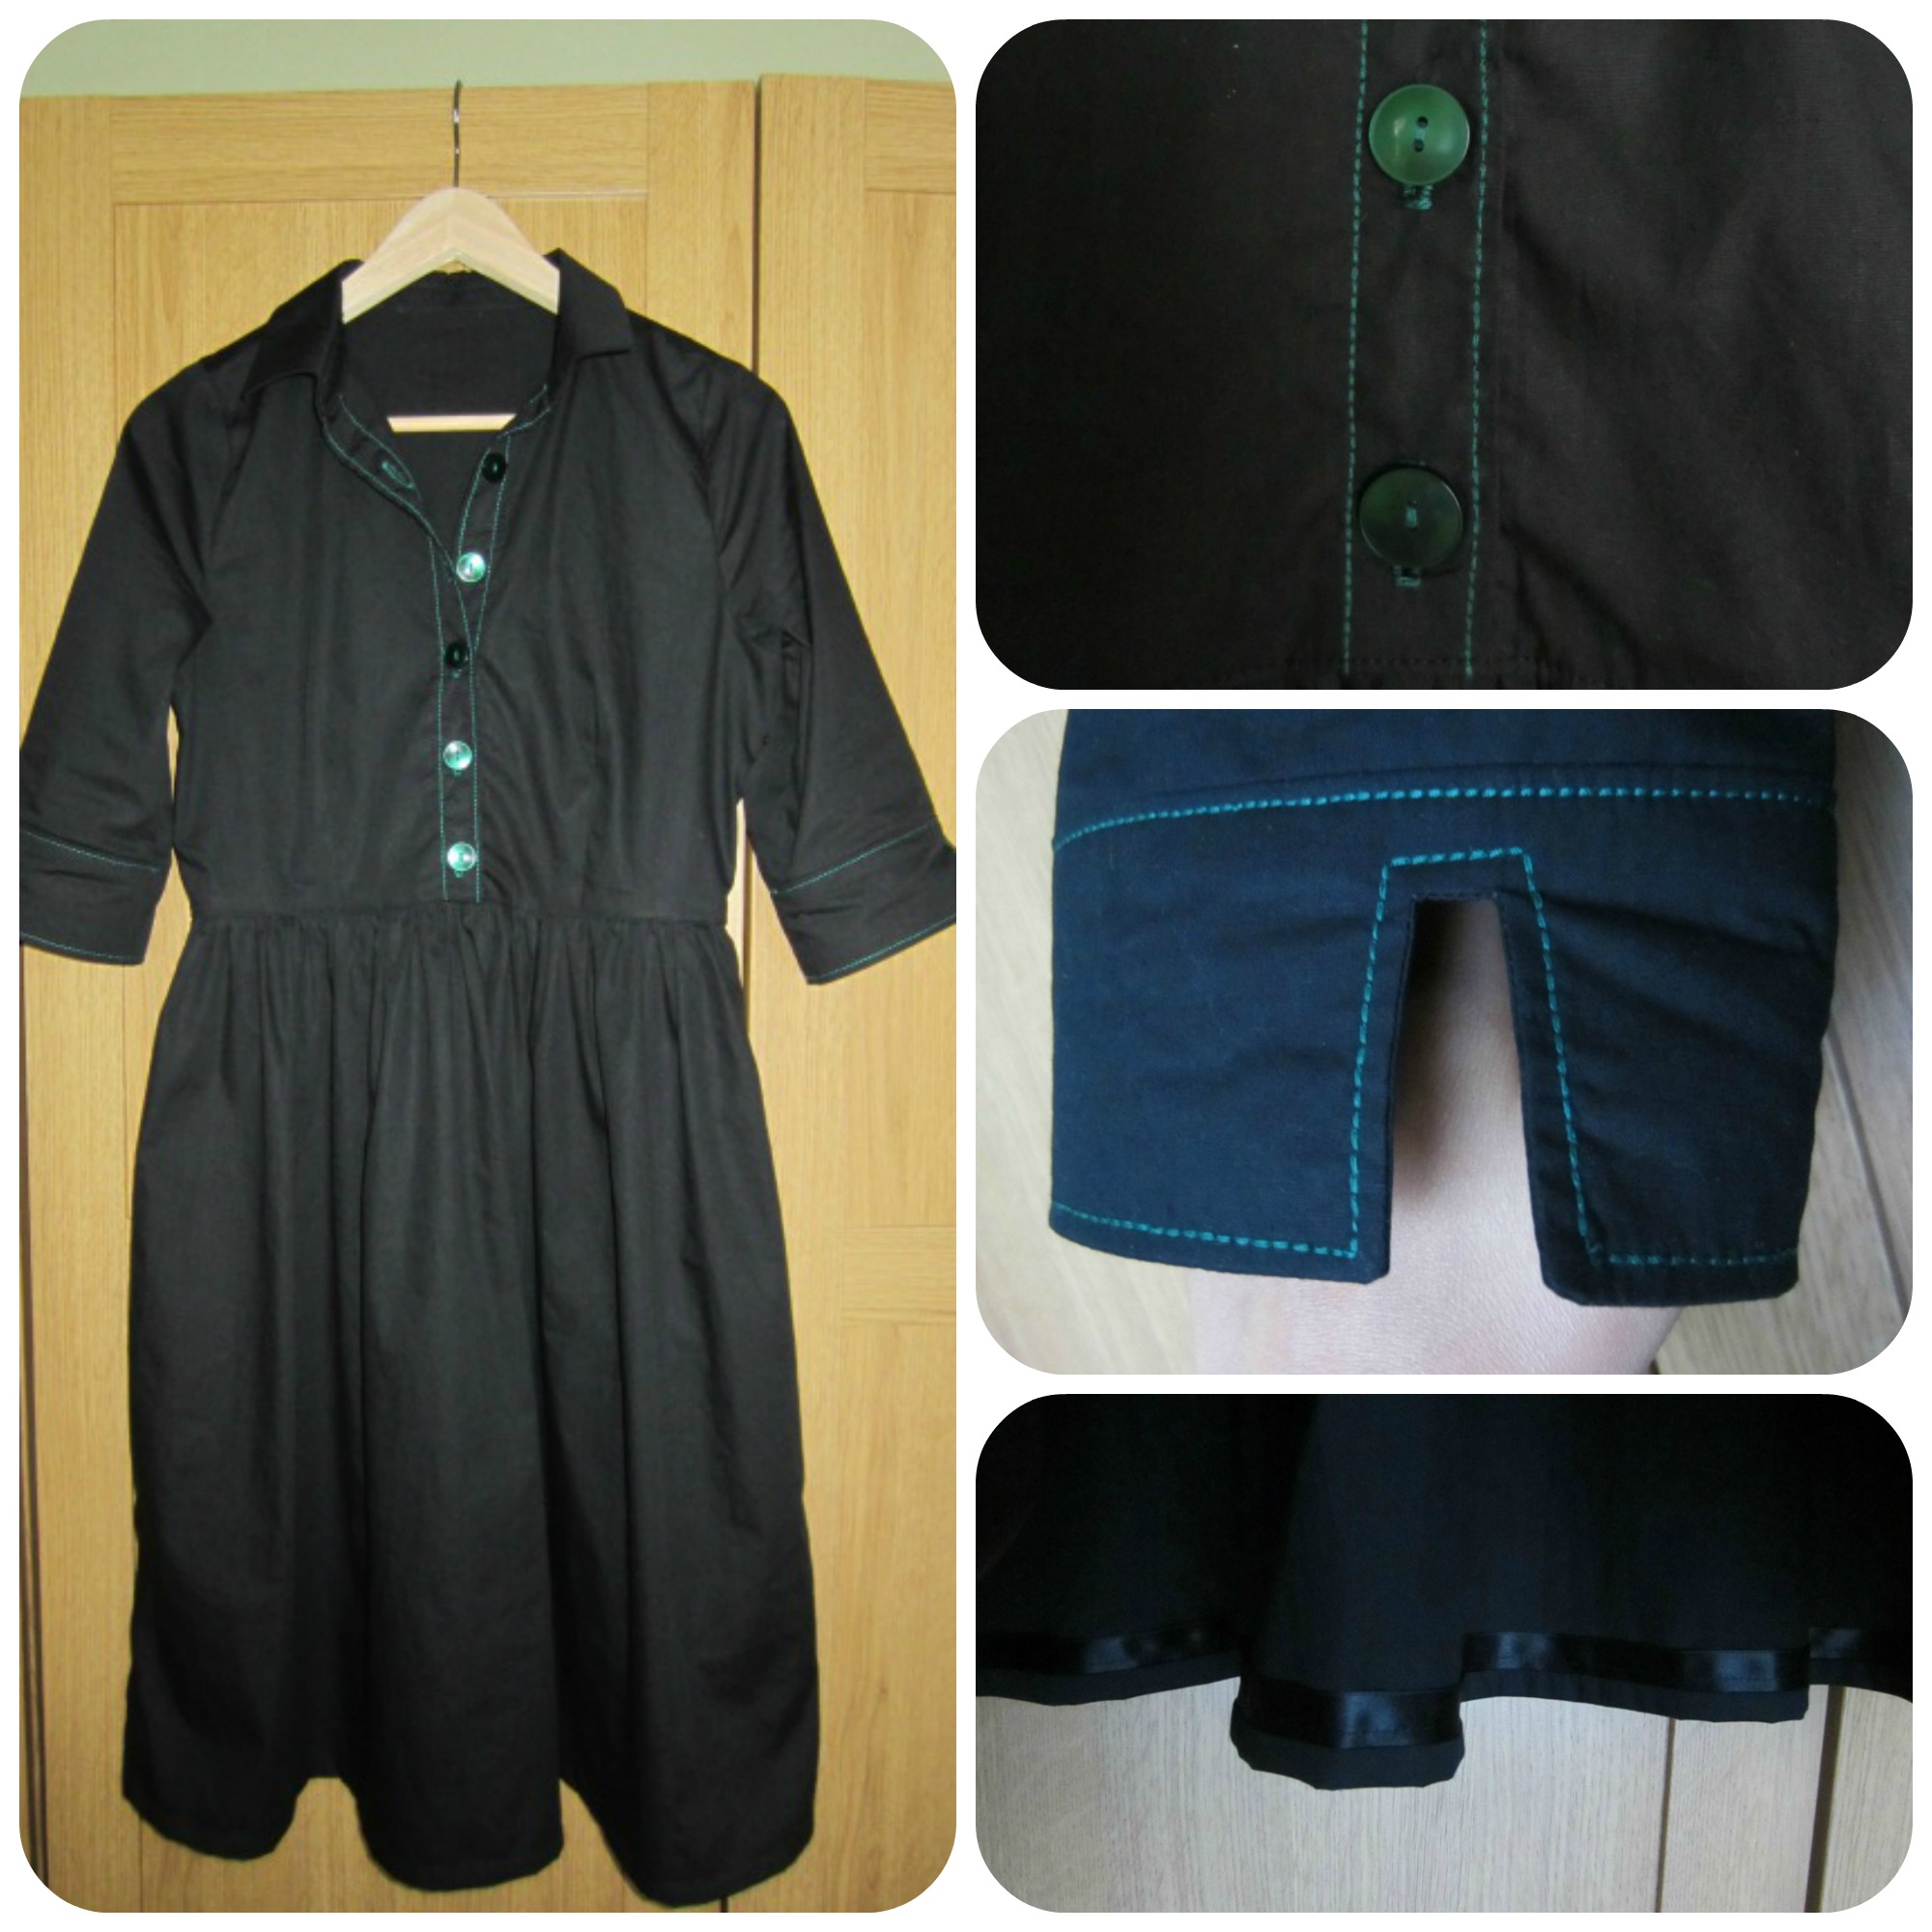
1. De gezusters Cambie / The Cambie sisters

Omdat ze zo mooi gelukt en comfortabel zijn. Ik heb de donkere veel vaker gedragen dan de groene maar ik vind ze beide erg mooi.
Because they are so pretty, comfortable and nicely finished. I’ve worn the dark one much more than the green one, but I find them both equally beautiful.
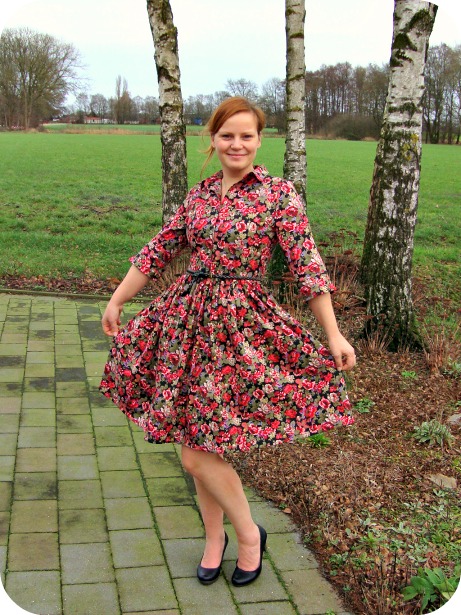
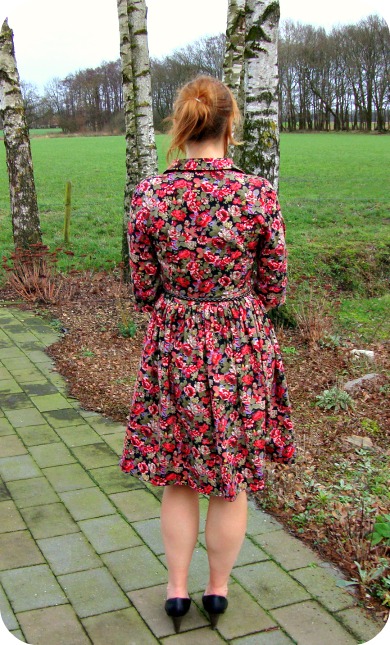
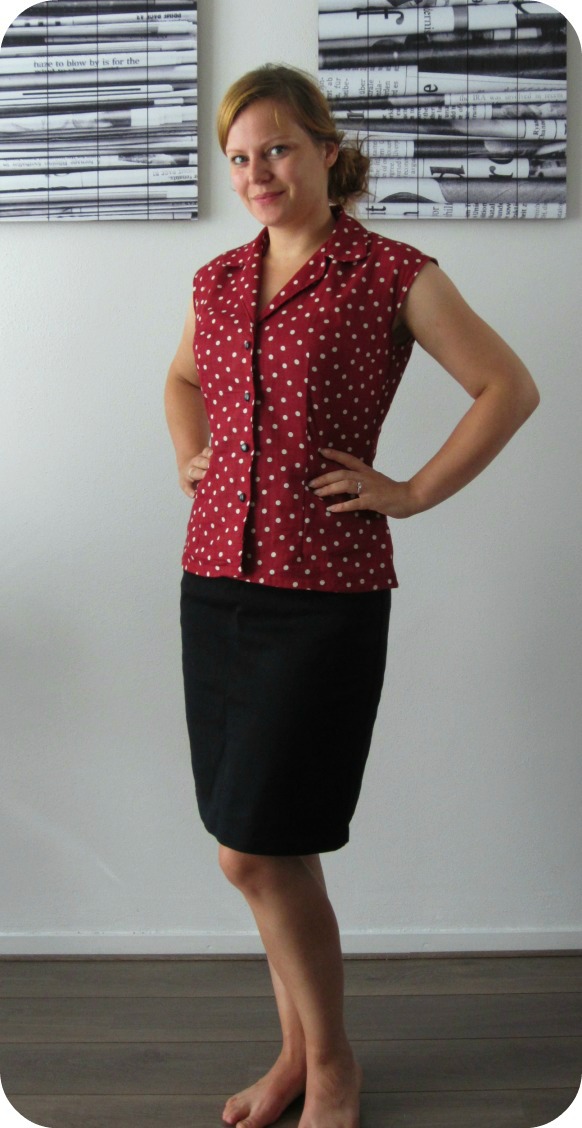
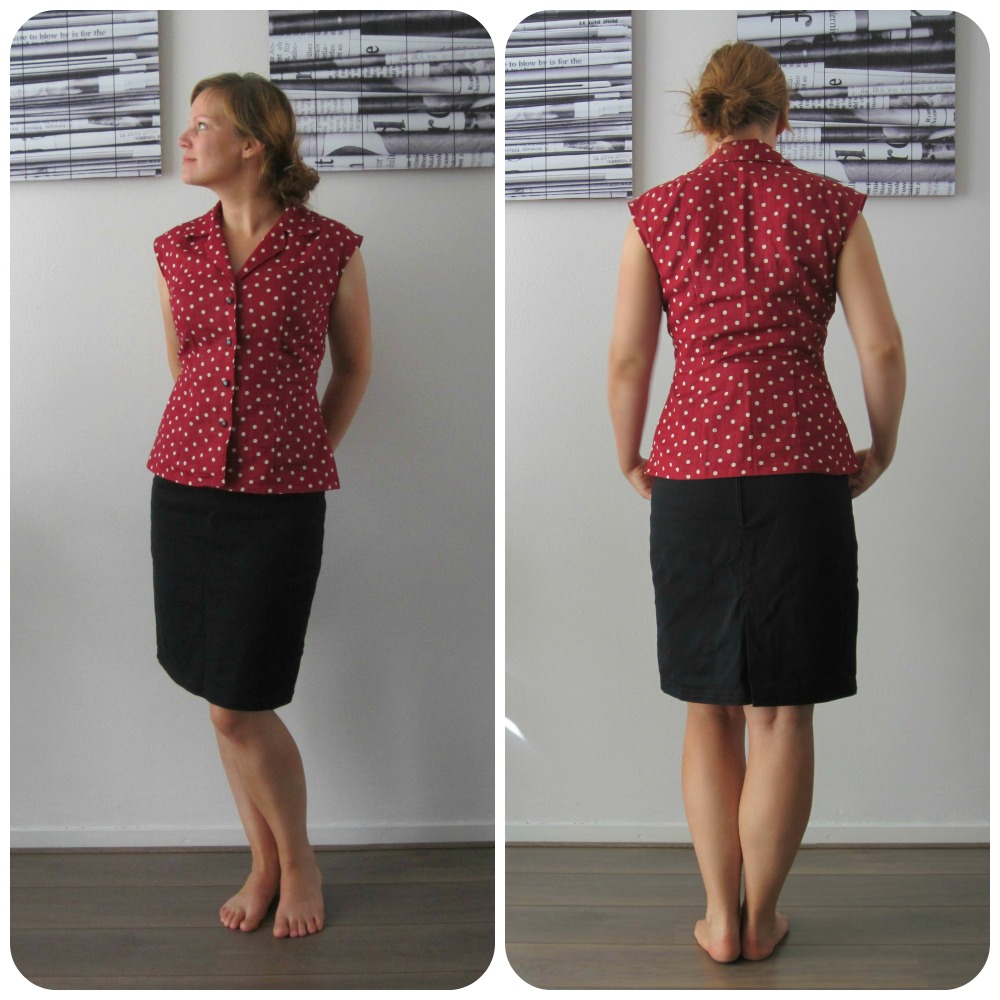
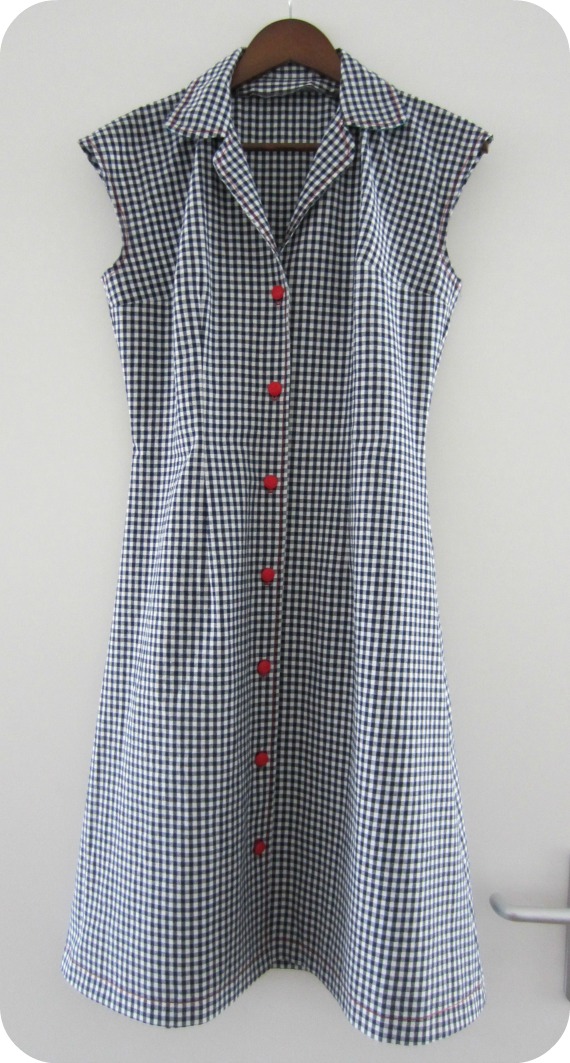
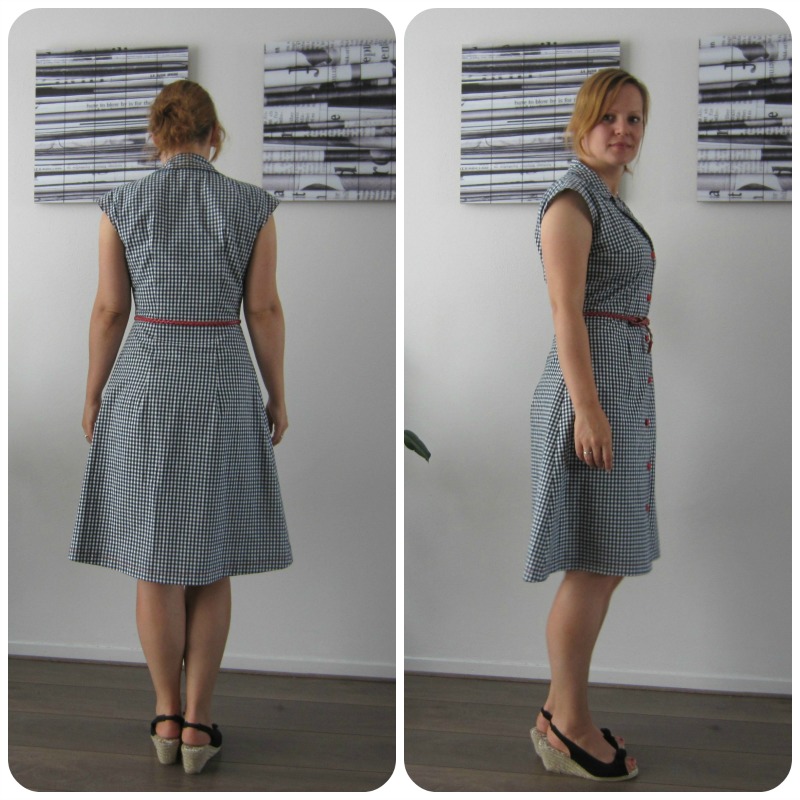
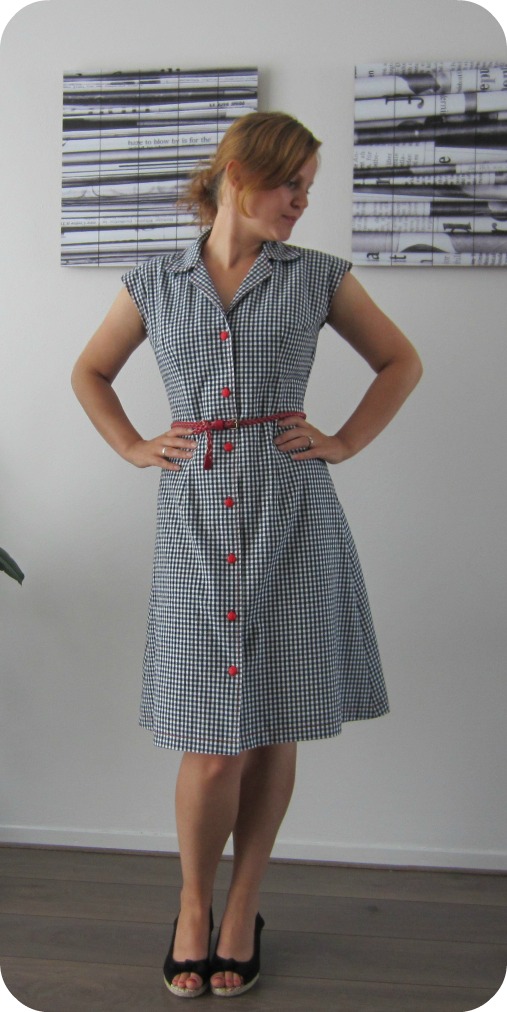
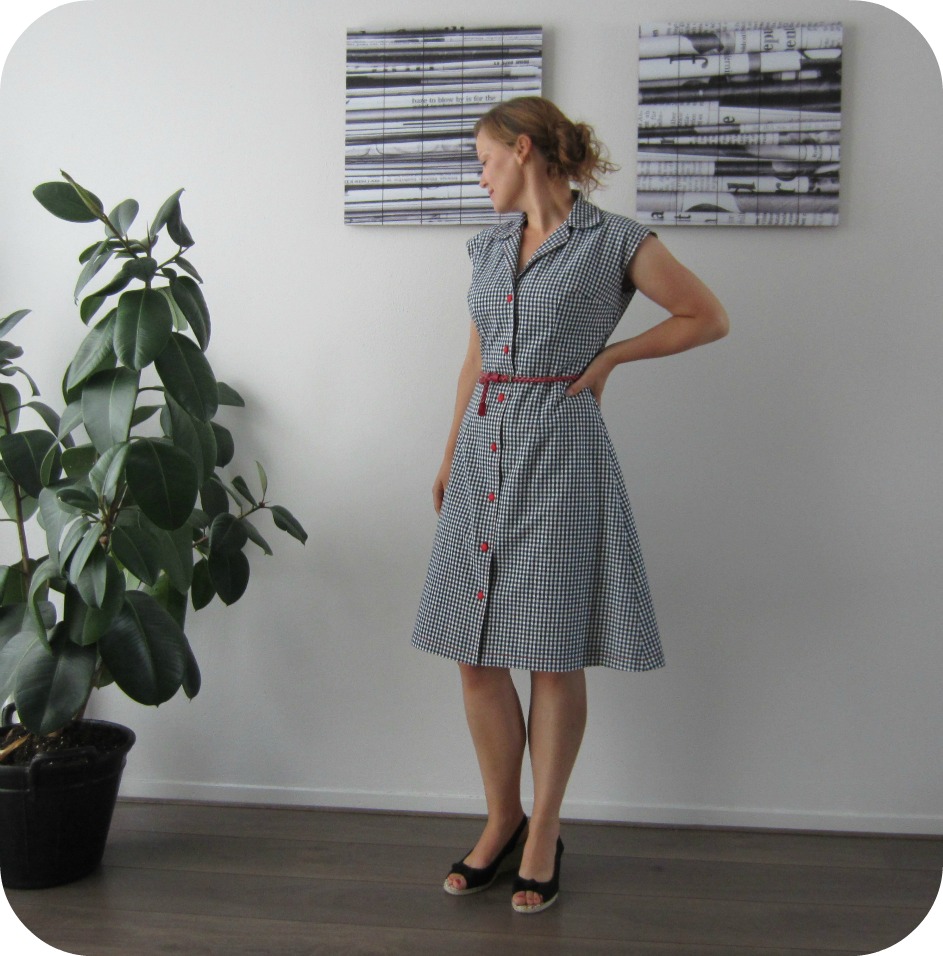
2. De gezusters Camí / The Camí sisters

Omdat ik het model zo leuk vind, ze goed gelukt zijn, en dit eigenlijk mijn enige twee jurken zijn die ik in de winter aan kan zonder vest. En natuurlijk omdat negen van de tien keer mijn laatst gemaakte kledingstuk ook mijn favoriet is 🙂
Because I love the way this pattern looks, they are nicely made and these are pretty much the only dresses I own that can be worn without a cardigan in winter. And ofcourse because 9 times out of ten, the thing I made last is my favourite 🙂
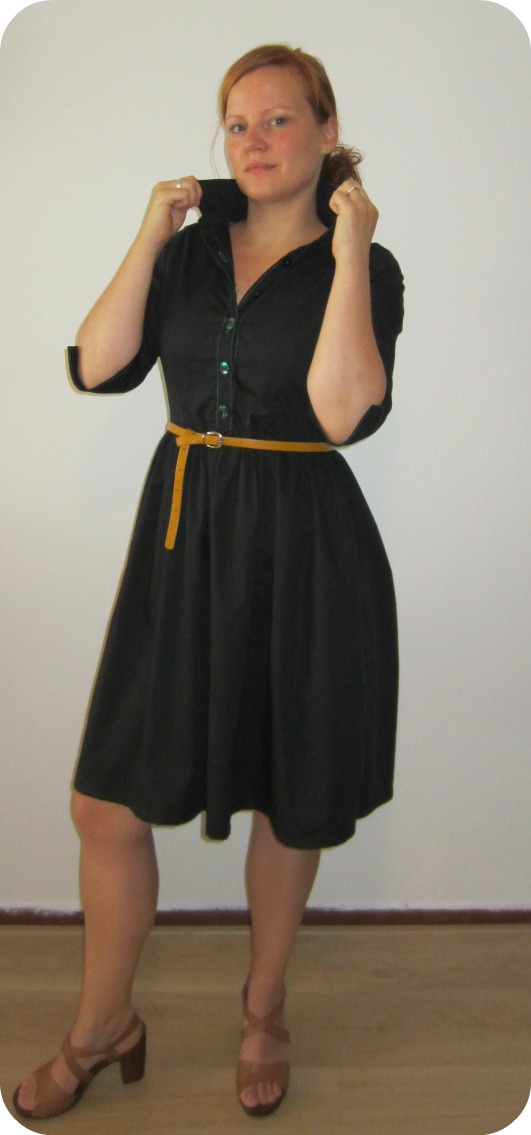
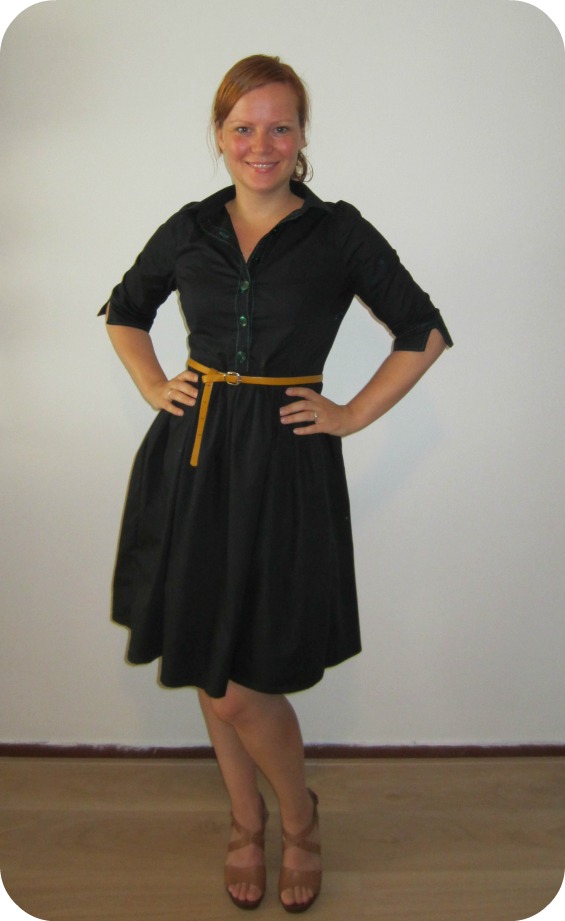
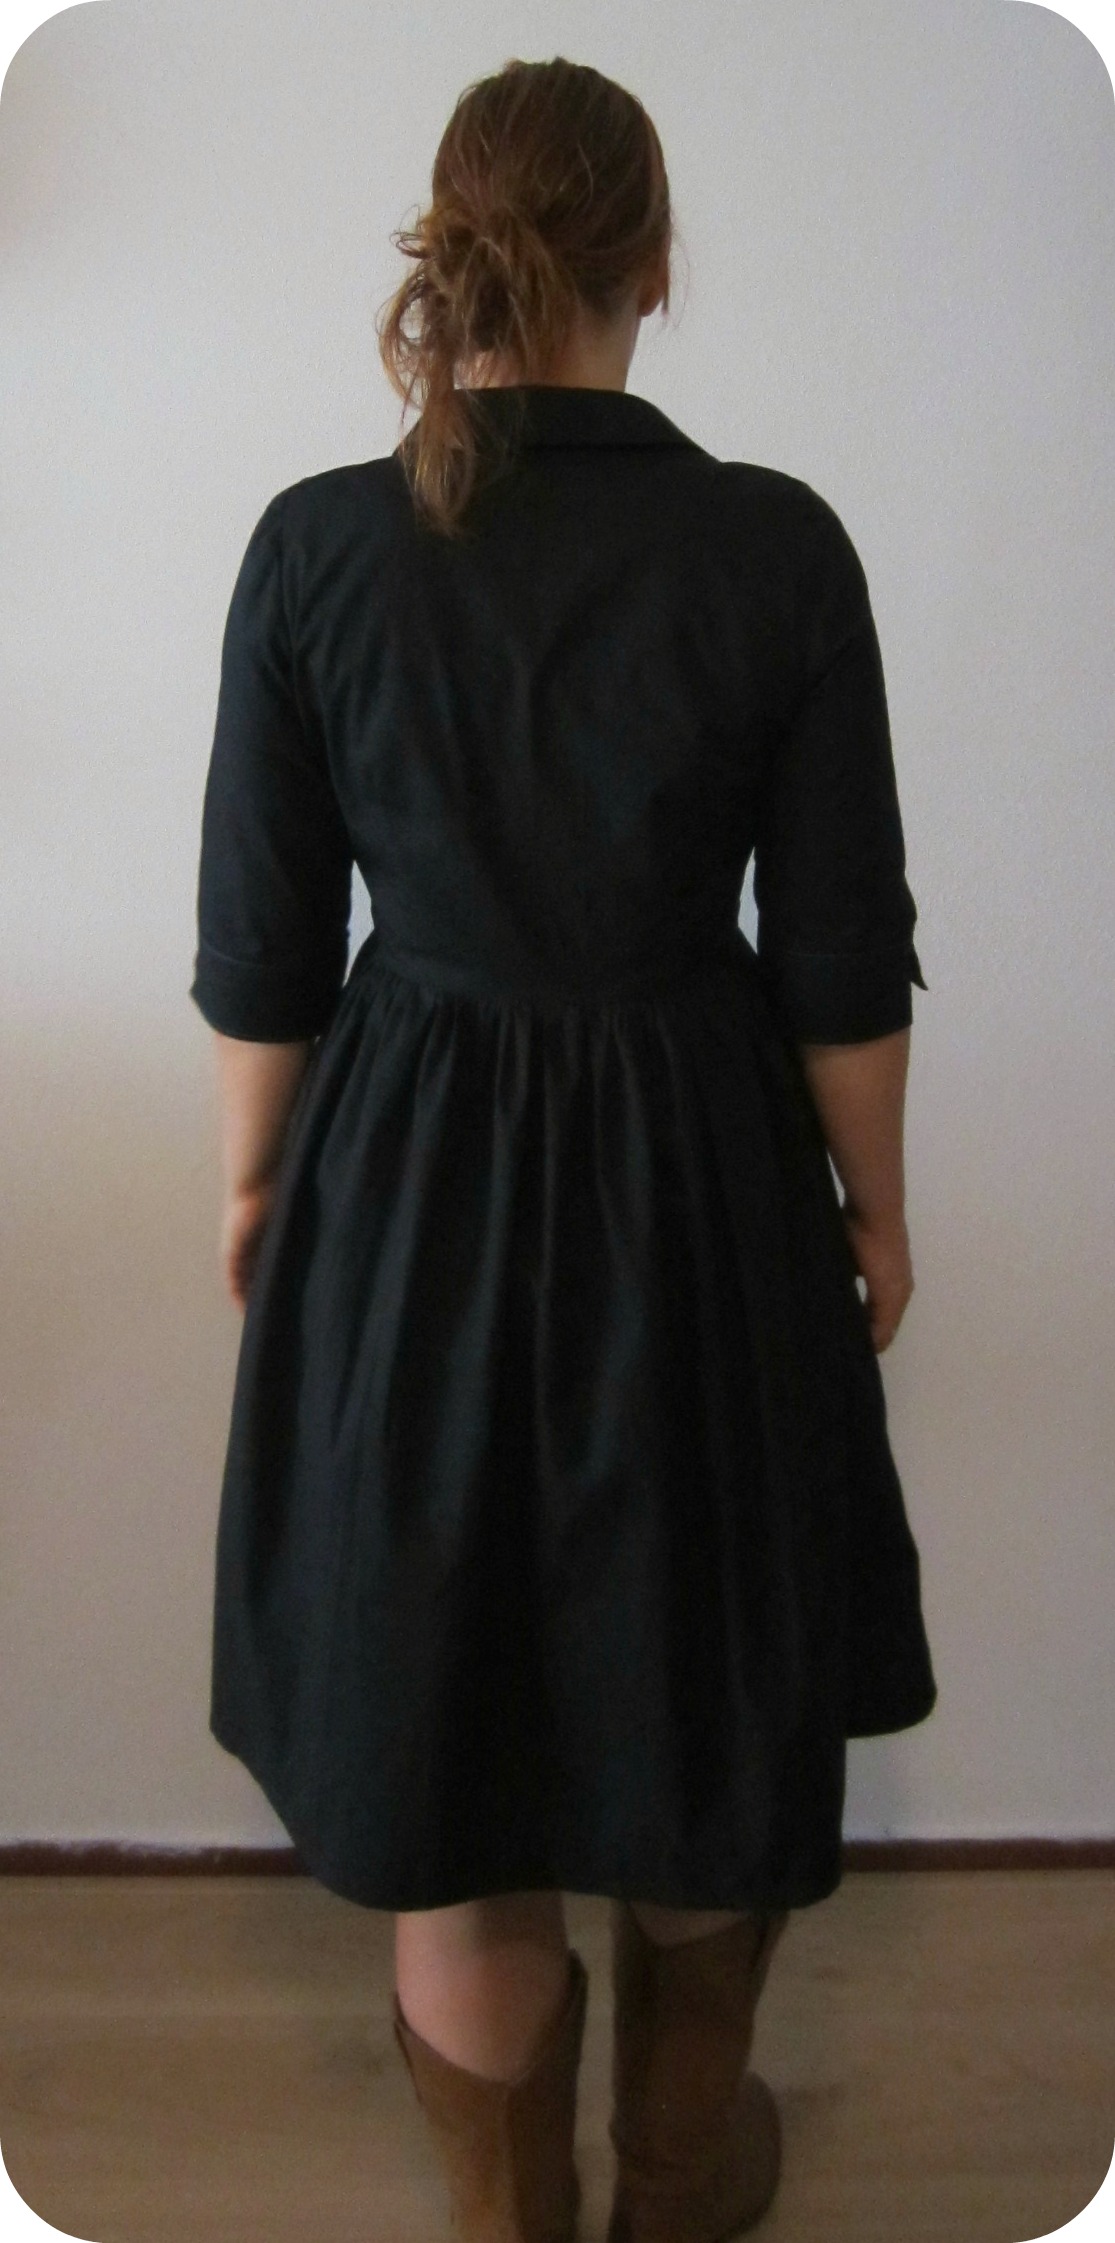
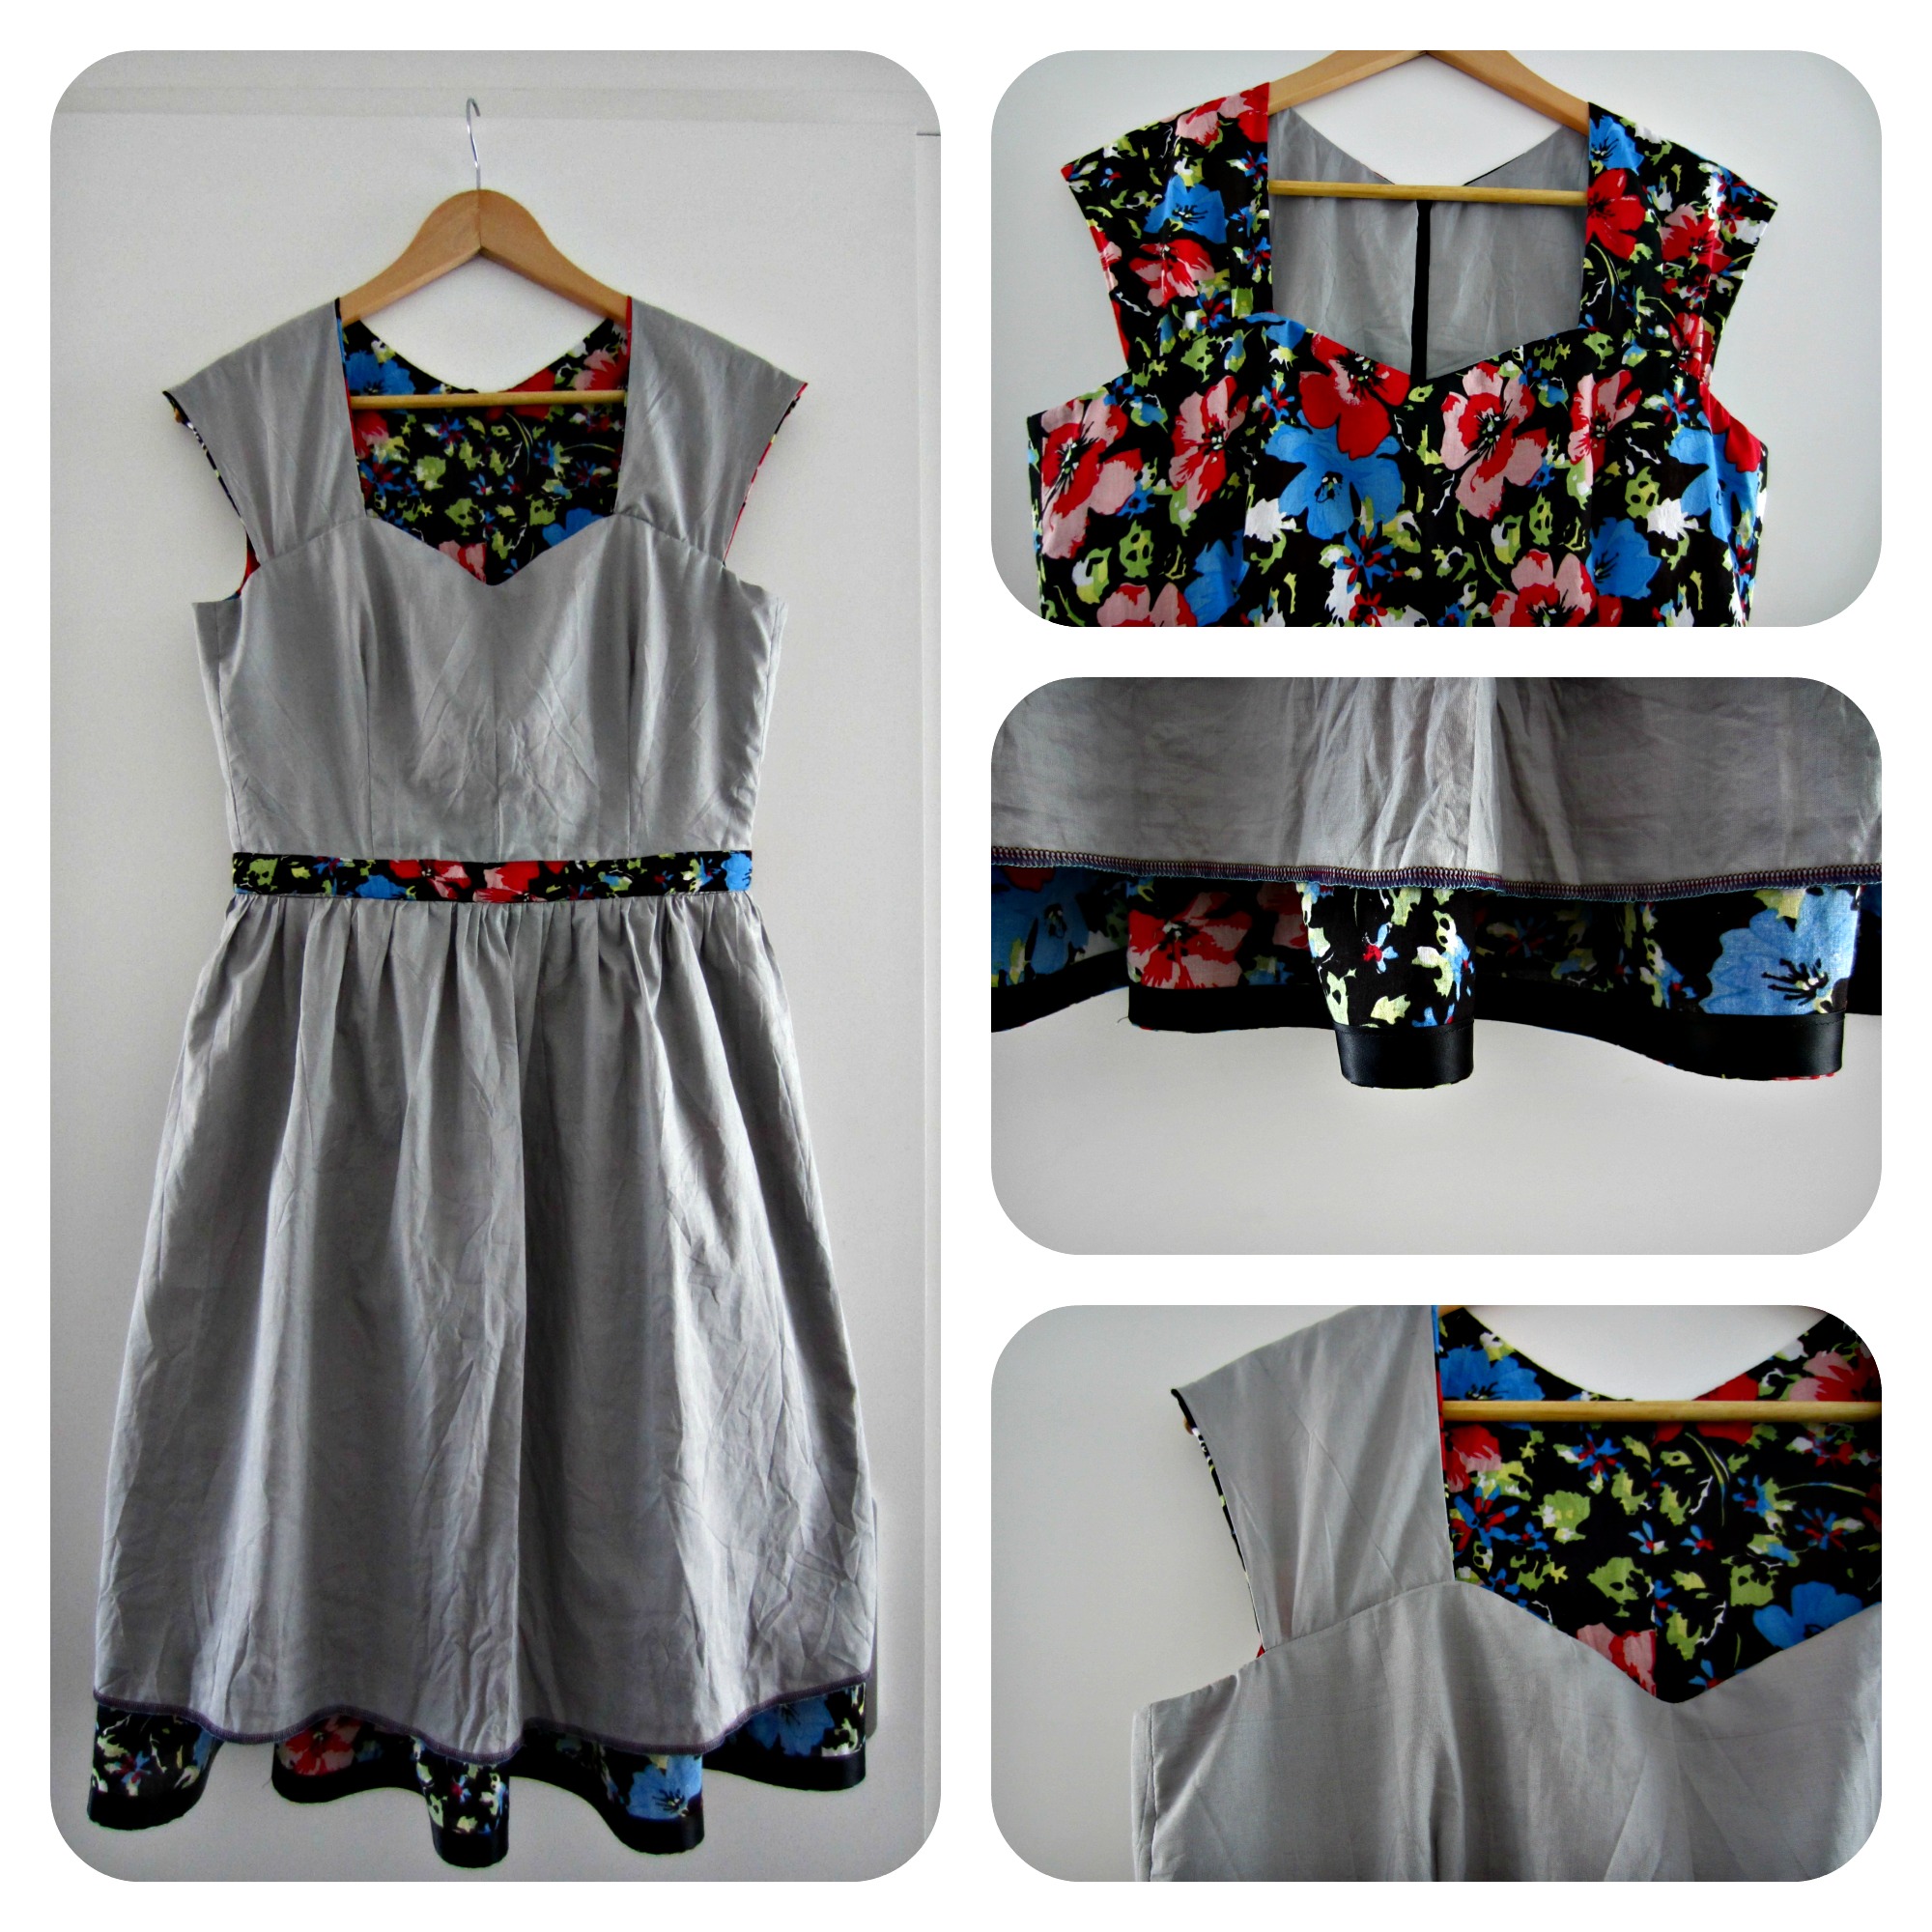
3. Edith
Veel gedragen afgelopen zomer. En dan te bedenken dat het eigenlijk een proefmodelletje was! Ik hou gewoon erg van hemdjurken, en deze heeft een mooi klassiek model.
I’ve worn it a lot this summer. And it was meant as a muslin! I really like shirtdresses and this one has such a classic shape.
4. Zwarte korte broek / black shorts

Simpel, maar ideaal tijdens onze vakantie naar Japan. Wel een beetje jammer dat de stof afgaf op mijn benen als het wat warmer werd..
Het is trouwens een aangepaste versie van Colette Iris. En ook met een panty en laarzen ideaal!
Simple, but they came in very handy during our trip to Japan. It was a bit annoying though that the fabric started to bleed onto my legs as soon as it got hotter.
It’s an adapted version of Colette’s Iris. And also very wearable with tights and boots!
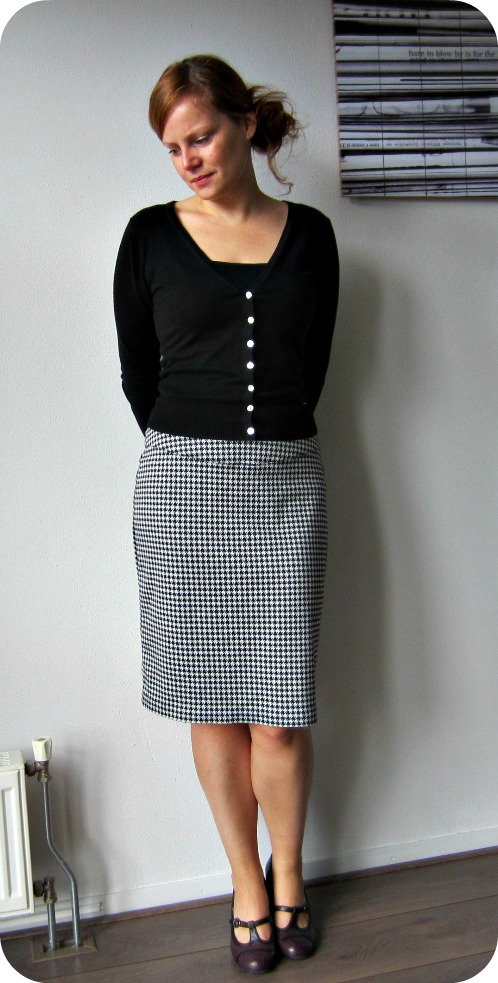
5. Culottes

Gewoon, omdat ze geniaal zijn. Qua uiterlijk een rok, maar met de voordelen van een korte broek (geen schurende dijen, hoera!)
Basically because they’re genius. They look like a skirt but with al the benefits of shorts (no chaffing thighs, hurray!)
Zo, dat is een mooie lijst al zeg ik het zelf 🙂 Nu maar eens bekijken wat de ‘missers’ waren van het afgelopen jaar.
There, a pretty nice list if I say so myself 🙂 Now let’s contemplate about last years ‘misses’.
Wat maakt voor jou een project een ‘winner’?
What defines a ‘winner’ project for you?